You've made the decision to grow a beautiful planted tank. You've spent some time learning how to do it. You know it's best to plant the tank with the substrate no more than damp. But now it's time to fill it. How do you get the water in without making a mess!?!?
This seems to be a problem that many new aquatic gardeners (and some with quite a bit of experience!) really struggle with. There is absolutely NO reason for you not to enjoy your beautiful new planted tank from the day you first set it up. The secret, no matter what type of substrate you decide to use, is to avoid disturbing the substrate while you are filling the tank. I never, ever rinse any substrate I use, and that includes gravel, sand, soil based commercial substrates, DIY soil substrates and calcined clay substrates (commercial or other). This method even worked beautifully with old fashioned, messy laterite substrates. As long as you fill the tank carefully, it doesn't matter how dusty the original material is, it won't get into the water column.
There are a number ways to accomplish this, and most good aquatic gardeners and aquascape artists have their preferred methods. I will show you several methods here, and show you several sets of photos which prove that it's really not difficult to fill a tank cleanly. Whether you use one of these techniques, or something you learn from someone else doesn't matter. What matters is that you fill in a slow, controlled manner and avoid disturbing the substrate as you fill.
The first method I'll show you is the standard way I fill any tank that has enough room. Plant the tank with the substrate just damp, with no standing water. I typically plant the entire foreground and mid-ground areas before I start filling.

Leave a spot unplanted that is big enough for a small, shallow dish or bowl.

Fill the tank VERY SLOWLY allowing the water to gently overflow the dish and run down the sides. I use a Python™ water change system to fill (and change water on) all my medium to large tanks. I couldn't keep tanks without it!
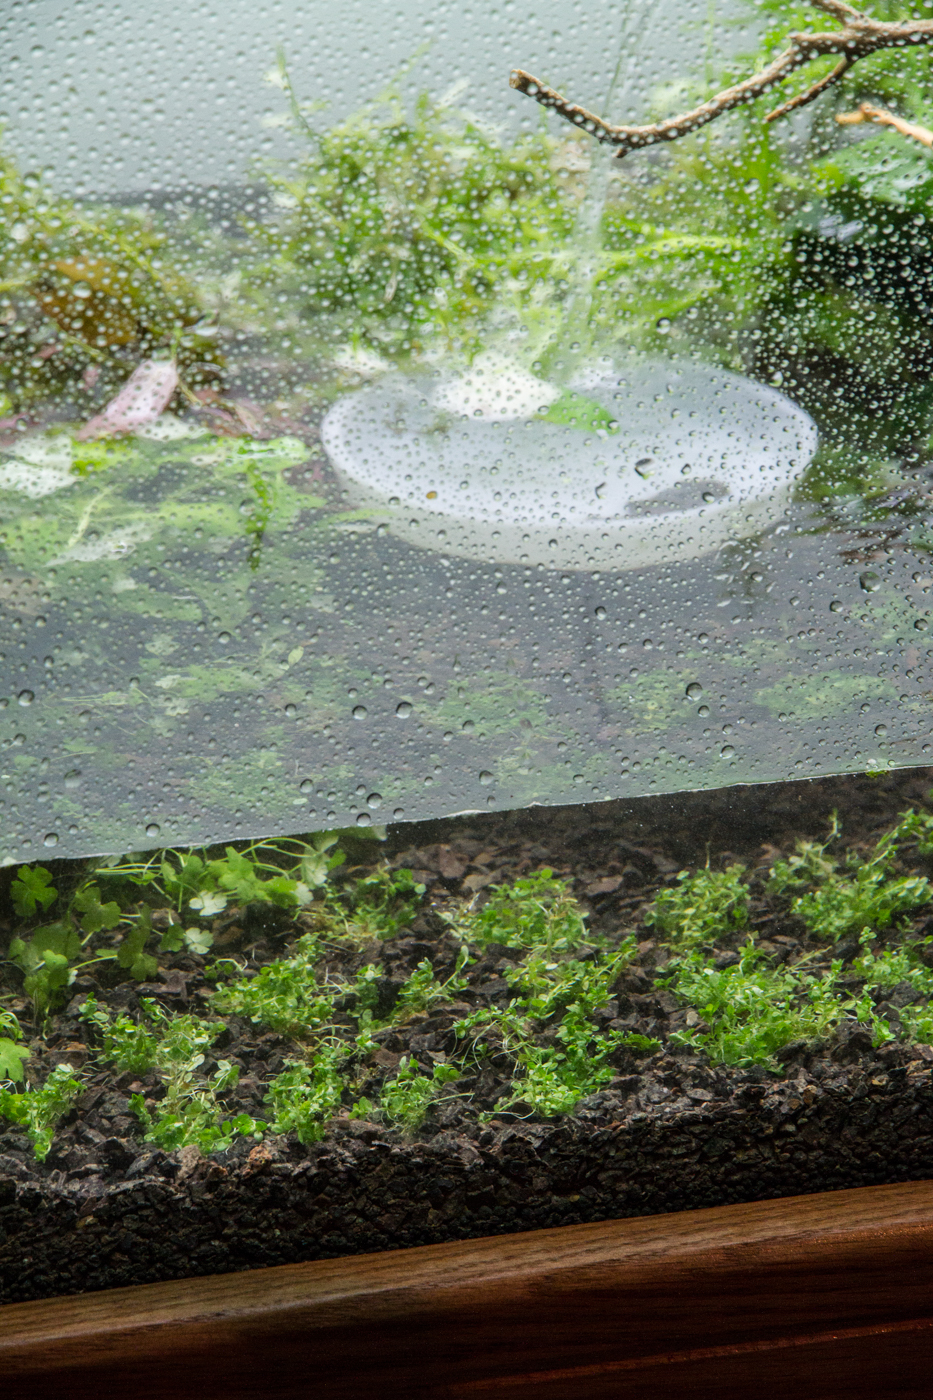
Once the water is deep enough to cover your foreground planting and the dish is completely submerged, you are increase the flow slightly.
Once the tank is filled to this level, you can increase the flow a little bit more. Don't be in a hurry, though. The slower you fill, the clearer that tank will remain. At this point I had also finished the planting of background stem plants. I use a wood working clamp or "chip clip" to hold the hose in place. this serves two purposes. It keeps the hose from popping out of the tank if I wander away during filling, and it makes sure that the stream of water remains pointed at the dish, so the the water flow doesn't disturb the substrate.

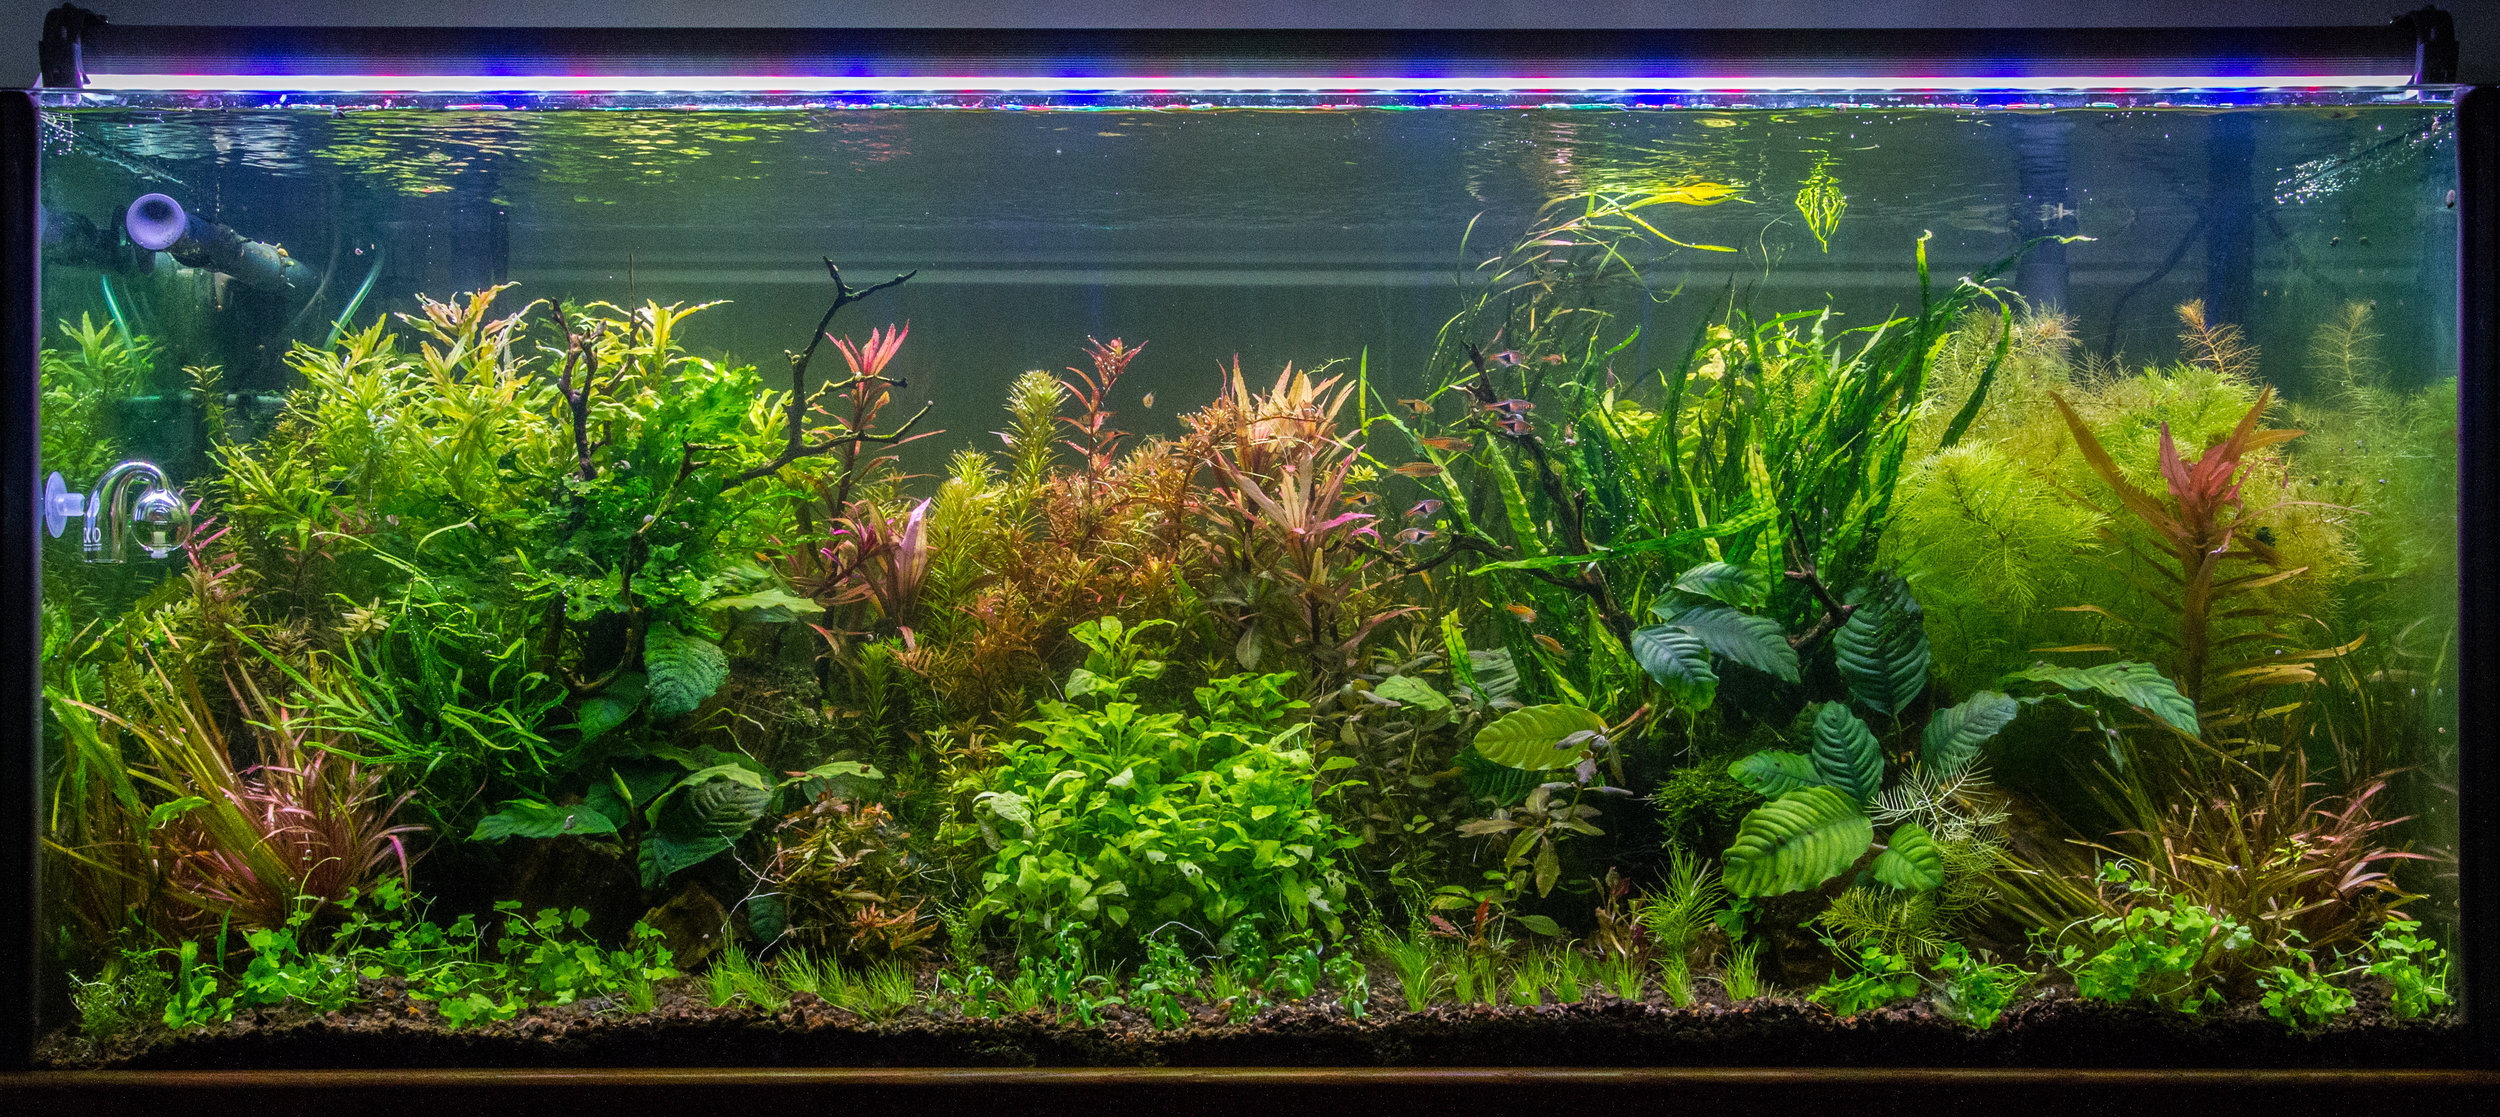
Voila! The tank is filled and the water is nice and clear. This photo was taken right after filling. You can see that I haven't even set up the filtration on the tank at this point. I still have to plant the small area where the dish was, but other than that, the tank is done!
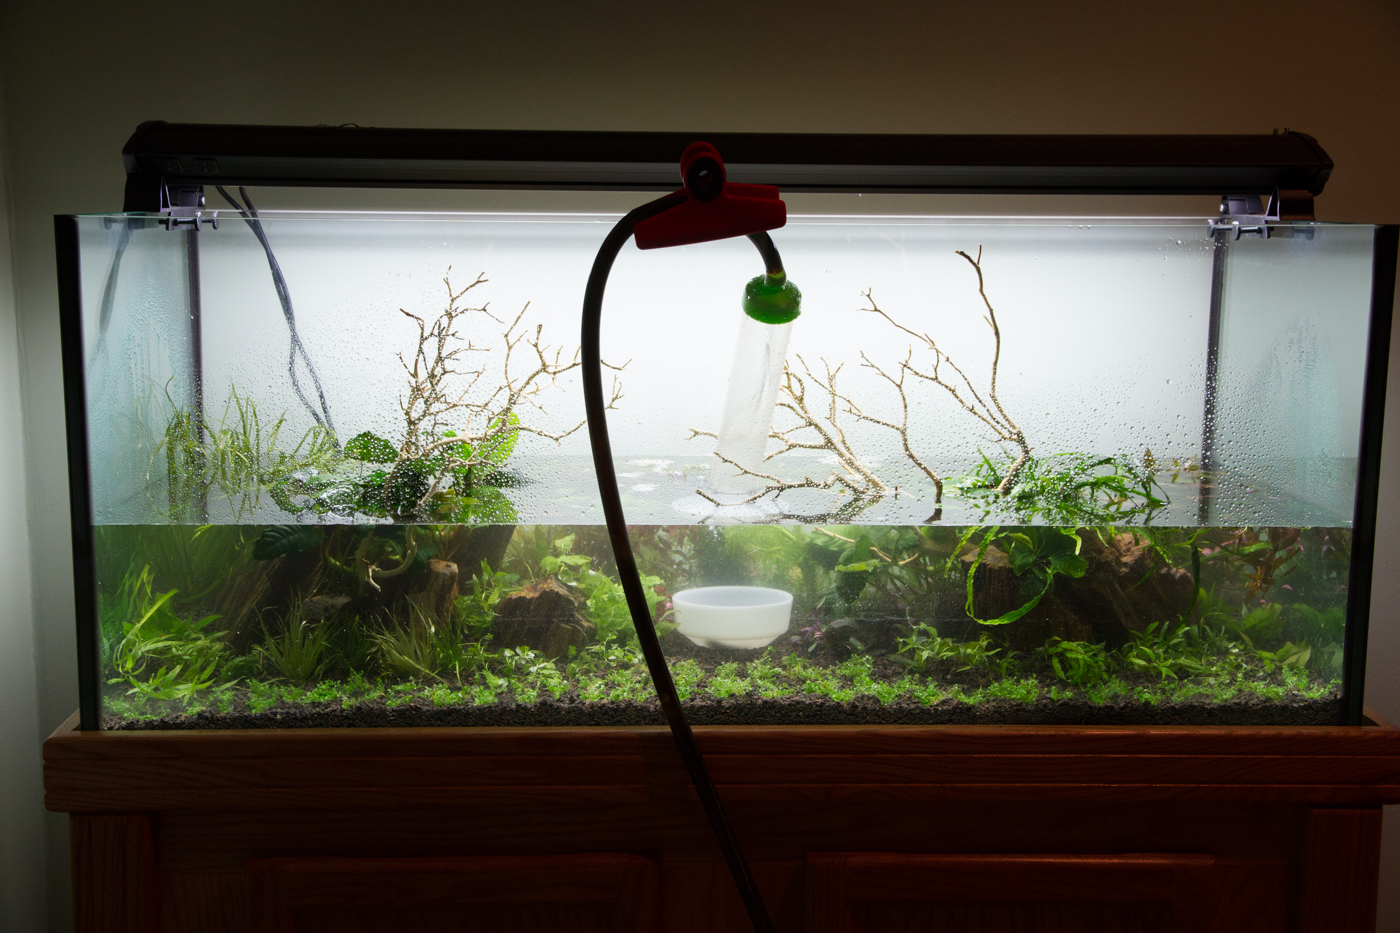
The next method is one I use on smaller tanks or if the hardscape makes it impossible to place a dish on the substrate.
In this 14 gallon Coralife Biocube there was no place to put a dish. You can still fill the tank cleanly, but it means that you have to control the water flow even more carefully. In this case, I balanced a bucket on top of the tank, and siphoned water in through tubing a little larger than airline tubing.

I made sure that the water flowed gently over the rock before hitting the substrate.

Again, with a little patience, this lead to a super clear tank as soon as it was filled.
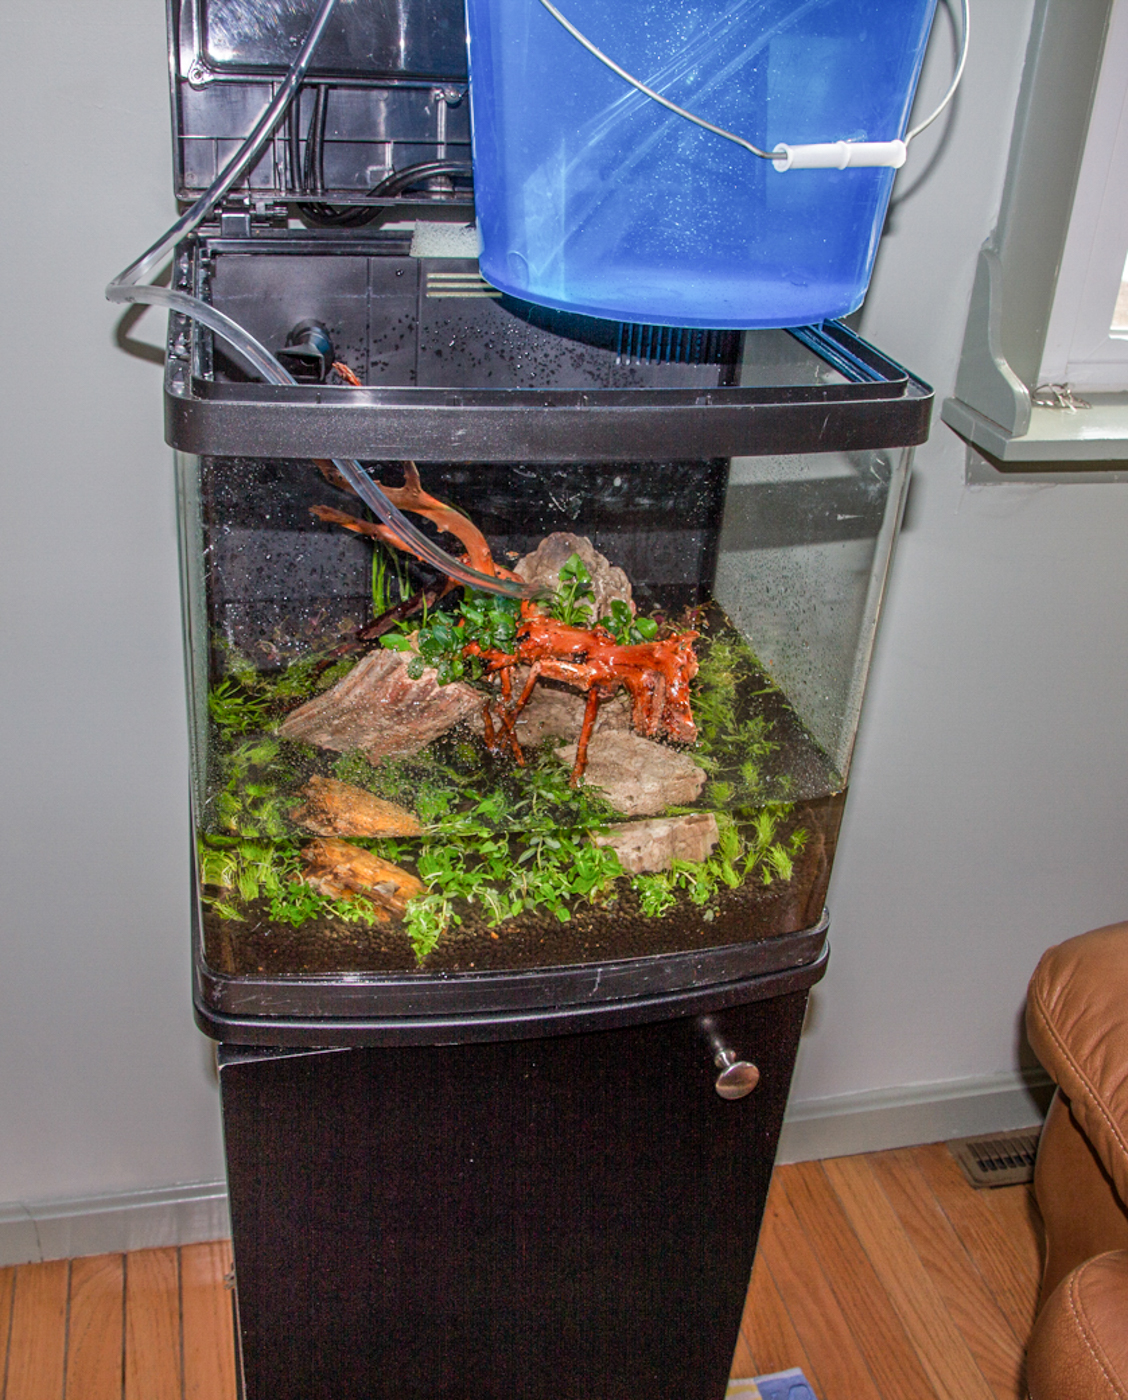
Finally, this is the method I use with very small tanks.

This was a little 2 1/2 gallon Bucephalandra tank. Obviously, there as no room for a dish in here, and it was even too small for the "bucket on the edge" treatment.
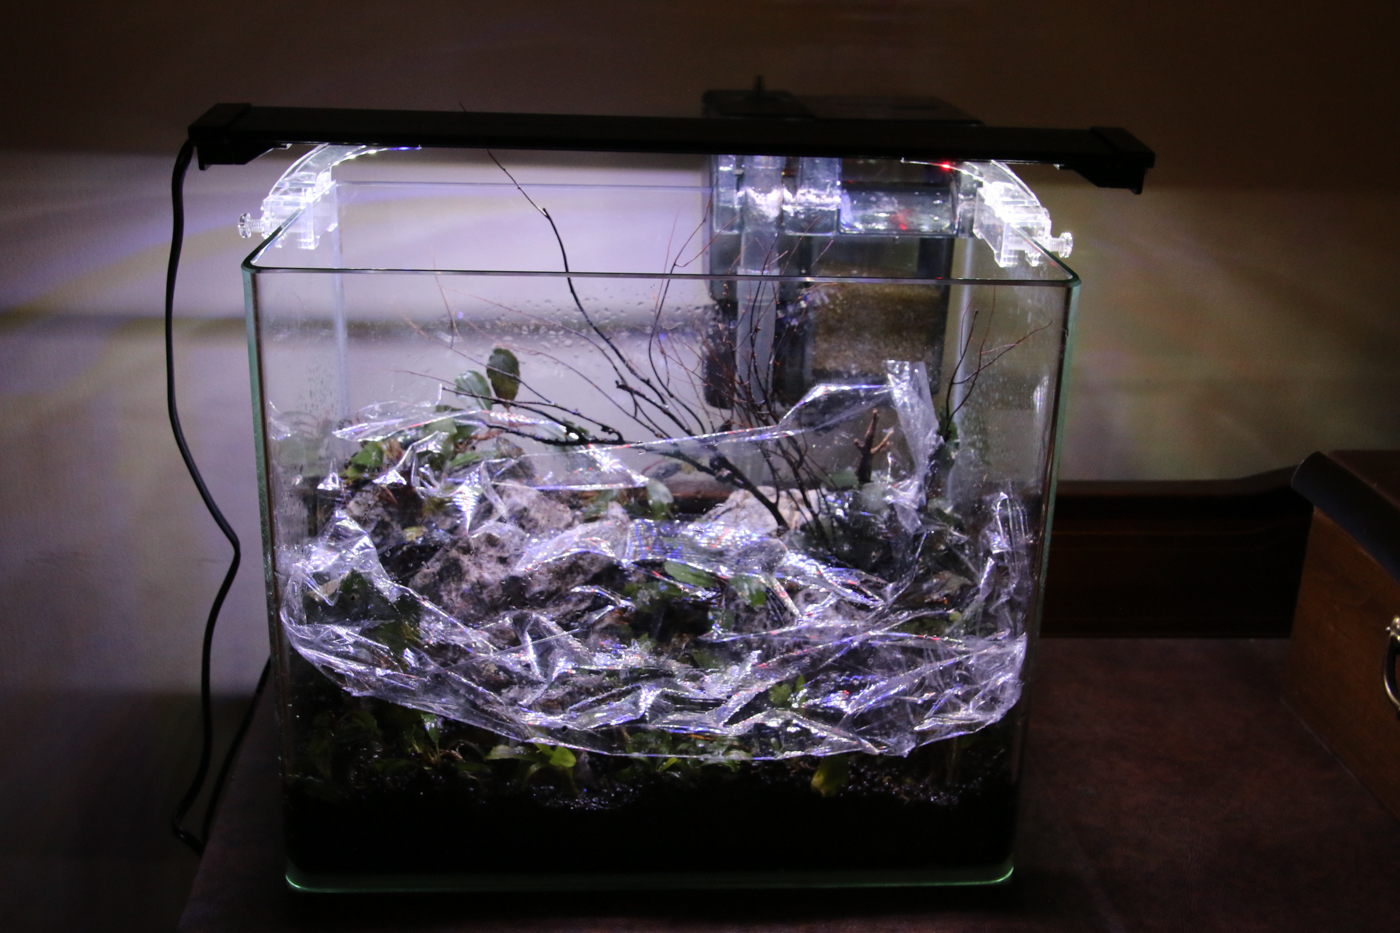
On these tiny tanks, simply lay a sheet of plastic wrap over the entire scape.

Then slowly fill the tank by pouring right onto the plastic wrap. I use a watering pot for house plants to fill these little tank. The watering pot makes it easy to control the flow.

As the water gets deeper, the plastic wrap will float up. No problem! Just keep pouring water directly onto the wrap.

Here you can see that the plastic wrap has floated right up to the surface as the water continues to flow in.

And there you are with another nice, clean tank!
Isn't that more pleasant than having to wait several days and keep changing filter meds to clear up a tank the was filled too fast?
Happy Gardening!